Ultimate Guide to Tripods for Kayaking
Kayaking photography is challenging due to constant motion, water exposure, and limited space. A tripod designed for this environment can make your shots sharper and your videos smoother. Here's what you need to know:
- Lightweight and Portable: Carbon fiber tripods are ideal for their strength and low weight. Aluminum offers a budget-friendly alternative.
- Water Resistance: Choose materials like stainless steel or titanium to prevent corrosion. Waterproof leg locks and sealed components are a must.
- Stability: Look for strong leg-locking mechanisms and a high load capacity to keep your gear steady on the water.
- Adjustability: Quick-adjustment systems and versatile height options help you respond to changing conditions.
- Maintenance: Clean and dry your tripod after every trip, especially if exposed to saltwater, to ensure durability.
Quick Comparison of Top Tripods
| Model | Price | Weight | Max Load | Key Features |
|---|---|---|---|---|
| Benro INDURO Hydra 2 | $450 | N/A | 37.5 lbs | Fully waterproof, invertible column |
| Peak Design Carbon Fiber | $599 | 2.81 lbs | 20 lbs | Compact, 5 leg sections |
| Vanguard VEO 5 264CB-160S | $350 | 3.9 lbs | 33 lbs | Stable with 4 leg sections |
| Gitzo GT5543LS Series 5 | $1,559 | 6.22 lbs | 92.6 lbs | Professional-grade stability |
| JOBY GorillaPod HYBRID | N/A | N/A | N/A | Flexible legs for kayak surfaces |
The right tripod balances portability, durability, and stability. Read on to find the best options for your kayaking adventures and learn how to maintain your gear for long-lasting performance.
Putting a Tripod in a Kayak - Bradys Run Lake
Key Features to Look for in a Kayak-Ready Tripod
Choosing the right tripod for kayaking can make all the difference when it comes to capturing stunning photos on the water. The unique challenges of kayaking demand specific features to ensure both stability and ease of use. Here are some practical considerations to help you find the perfect tripod for your adventures.
Lightweight and Portable Design
When you're packing for a kayaking trip, every ounce matters. Balancing weight with stability is key, and the material of your tripod plays a huge role in achieving this.
Carbon fiber tripods are often considered the top choice for water-based photography. According to Manfrotto:
"Carbon Fiber is the lightest and strongest material for tripod legs and so is often preferred by outdoor and traveling photographers".
While they tend to be more expensive, their combination of strength and lightness makes them a worthwhile investment for serious photographers.
If you're just starting out or working with a tighter budget, aluminum tripods are a solid alternative. Though slightly heavier, they offer dependable durability, making them a practical option for beginners.
Keep in mind that lighter tripods may compromise on stability. A tripod weighing around three pounds generally provides better balance and sturdiness, especially when dealing with the constant motion of the water. For instance, the Leofoto Poseidon LP-324C, at 4.3 lbs, supports up to 33 lbs of gear, ensuring your equipment stays secure even in challenging conditions.
Another great example is the Sirui Traveler X tripod, released in November 2022. Weighing just 2.1 lbs and extending to 60 inches, it features an innovative leg extension system that eliminates the extra weight of traditional aluminum locks. Photographer Christopher has tested this tripod extensively during canoeing, backpacking, and winter camping, noting its impressive sturdiness even when fully extended.
Stability and Durability in Water Conditions
Photography on water introduces unique challenges, like waves, wind, and the natural movements of your kayak. A tripod designed for land simply won’t cut it.
One key factor is the number of leg sections. Tripods with fewer sections (e.g., four instead of five) tend to have thicker legs, which provide better stability. While this might slightly increase the folded length, the added rigidity is well worth it.
Secure locking mechanisms are another must. Waterproof locks made from materials like titanium alloy prevent water and dirt from entering the tripod legs, ensuring smooth operation even in wet environments.
The overall construction quality also matters. A well-built tripod with sturdy joints and rigid materials is essential for keeping your camera steady, especially when you're in motion or dealing with windy conditions.
Adjustability and Height Considerations
Kayaking often involves cramped spaces, so your tripod needs to adapt quickly and efficiently. Features that allow for fast adjustments are crucial when you're working in tight quarters or trying to capture fleeting moments.
Quick-adjustment mechanisms simplify repositioning, letting you focus on your shot instead of fumbling with controls.
A tripod with a flexible height range is also essential. Shooting from a seated position in a kayak means you'll need a tripod that performs well at both low angles for water-level shots and higher positions to clear the sides of your kayak.
Angle adjustability is another handy feature. Independent leg adjustments help you level the tripod on uneven surfaces, like a rocky shore, and make it easier to frame your shot precisely. Innovative leg extension systems, which replace traditional locks, can also speed up adjustments, especially when your hands are wet or cold.
Waterproofing and Corrosion Resistance
Since kayaking inherently involves water exposure, your tripod must be built to withstand wet conditions, including saltwater environments.
The materials used in the tripod are critical. Look for options made from titanium, stainless steel, or hard-anodized aluminum alloys, as these materials resist corrosion far better than standard aluminum. This is especially important for saltwater use, where corrosion can quickly become an issue.
| Material | Corrosion Resistance | Weight | Cost |
|---|---|---|---|
| Carbon Fiber | Generally Good | Lightest | Most Expensive |
| Titanium | Excellent | Light | Very Expensive |
| Anodized Aluminum | Good | Moderate | Moderate |
| Standard Aluminum | Poor | Moderate | Least Expensive |
Waterproof leg locks and sealed components are also essential features. For example, the Leofoto LP-284CX, released in September 2024, includes twist-lock joints that repel water, sand, and debris. Built with 10-layer carbon fiber legs and titanium components, it's specifically designed for harsh, wet conditions.
As professional photographer Nicco Valenzuela notes:
"At this point, the Leofoto Poseidon lives up to its name and is definitely a tripod one should consider if your photography involves a lot of exposure to the elements".
Even with waterproofing, proper maintenance is vital. As robgendreau from Digital Photography Review advises:
"Waterproofing is nice, but the downside is that it also keeps water from escaping. Anyone who has had the experience of dealing with Nikonos seals knows that even with waterproofing maintenance is essential".
Some tripods, like the Leofoto LP series introduced in January 2021, allow for easy disassembly. This feature makes cleaning simple and helps prevent the buildup of salt, sand, and debris. The series also includes waterproof leg locks, enhanced rubber seals, and titanium components for added durability.
To keep your tripod in top condition, always rinse it with fresh water after exposure to saltwater. Regularly disassemble and clean all parts to ensure it performs reliably on your kayaking trips. With these features and proper care, your tripod will stand up to the elements and keep your gear safe while you focus on capturing the perfect shot.
Top Tripods for Kayaking
Choosing the right tripod for kayaking can be tricky - you need something that balances waterproofing, weight, stability, and ease of use. After thorough testing and expert reviews, a few models clearly stand out for water-based photography. Here's a quick comparison of their key specs before diving into detailed reviews.
Comparison of Top Models
| Tripod | Price | Weight | Max Height | Folded Height | Max Load | Key Features |
|---|---|---|---|---|---|---|
| Benro INDURO Hydra 2 | $450 | N/A | N/A | N/A | 37.5 lbs | Fully waterproof; invertible center column |
| Peak Design Carbon Fiber Travel | $599 | 2.81 lbs | 60" | 15.5" | 20 lbs | Ultra-compact; 5 leg sections |
| Vanguard VEO 5 264CB-160S | $350 | 3.9 lbs | 67" | 23.9" | 33 lbs | Stable; 4 leg sections |
| Gitzo GT5543LS Series 5 | $1,559 | 6.22 lbs | 61.4" | 23.6" | 92.6 lbs | Professional-grade stability |
| JOBY GorillaPod HYBRID | N/A | N/A | N/A | N/A | N/A | Flexible legs; grips kayak surfaces |
Now, let’s explore what makes each of these tripods a solid choice for kayaking.
Overview of Recommended Tripods
The Benro INDURO Hydra 2 is a top pick for water photographers. Built with 8-layer carbon fiber tubing, it’s 60% stronger than standard tripods and fully waterproof. It even won the "Best Tripod" award at the TIPA World Awards 2022. Professional photographer Ivor Rackham praises its niche appeal:
"This is a specialist tripod aimed at a niche corner of the market. It will appeal to the serious, adventurous outdoor photographer who, like me, wades into the sea or rivers to get their landscape and seascape shots."
With a maximum load capacity of 37.5 pounds, it’s perfect for heavier camera setups.
For those who prioritize portability, the Peak Design Carbon Fiber Travel Tripod is a standout. At just 2.81 pounds and a folded height of 15.5 inches, it’s easy to pack and carry. It has been rated 9.3/10 for its performance in extreme conditions. Ryan Kempfer of GearJunkie shares his experience:
"We've carried this tripod on shoots on three continents, on adventure motorcycles, in whitewater kayaks, on snowmobiles, and so much more. Its small size makes it easy to toss in a carry-on or attach to the outside of a backpack for hiking or backpacking adventures. While it's been covered in mud, sand, snow, and ice more than a few times, it still looks nearly new after many years."
The Vanguard VEO 5 264CB-160S Carbon Tripod offers great stability and value. Its four-section legs provide reliable performance even in windy conditions, and the 33-pound load capacity accommodates a variety of camera setups. With a wider stance when fully extended, it’s well-suited for breezy, water-based environments.
For ultimate stability, the Gitzo GT5543LS Series 5 is hard to beat. Weighing 6.22 pounds but capable of supporting up to 92.6 pounds, this tripod is designed for professionals who demand reliability. It’s rated 9.0/10. Ryan Kempfer sums it up well:
"If you're looking for a tripod that delivers peace of mind, versatility, strength, and stability no matter what you throw at it, the Gitzo GT5543LS Series 5 Systematic Long is the one for you."
The JOBY GorillaPod HYBRID brings a creative twist with its flexible legs. These legs can wrap around kayak surfaces, making it easy to set up shots in unconventional ways. Superior Paddling highlights its usefulness:
"With its compact size, light weight, and quick-release head, the GorillaPod HYBRID is an ingenious bit of equipment. The GorillaPod has become a vital bit of gear for my paddling and wilderness-travel photography."
Lastly, the SuckerPod Marine-Grade Camera Tripod is specifically designed for marine environments. With articulated suction feet and a compact foldable design, it’s a practical choice for water-based photography.
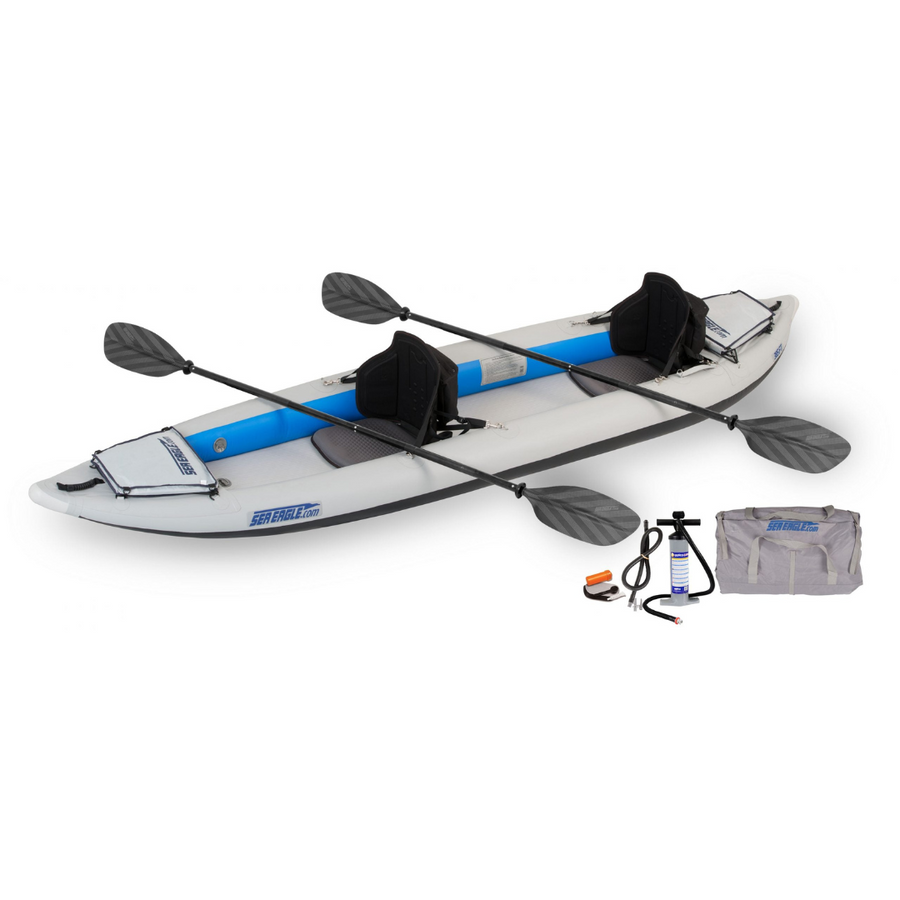
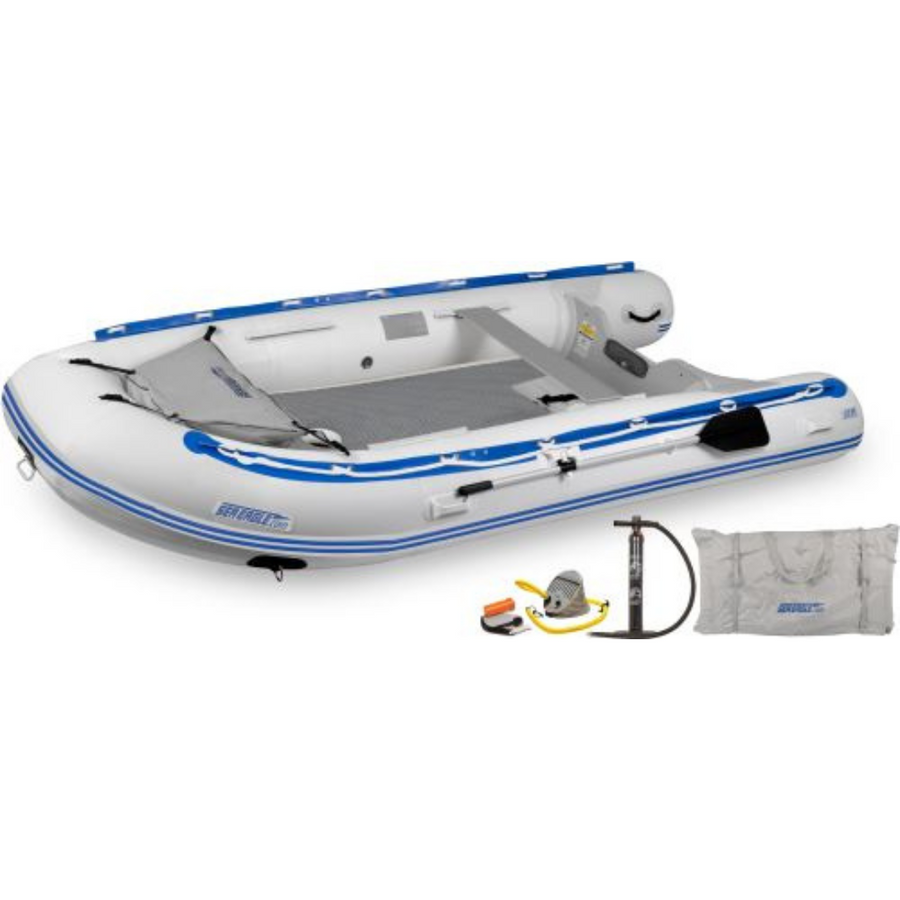
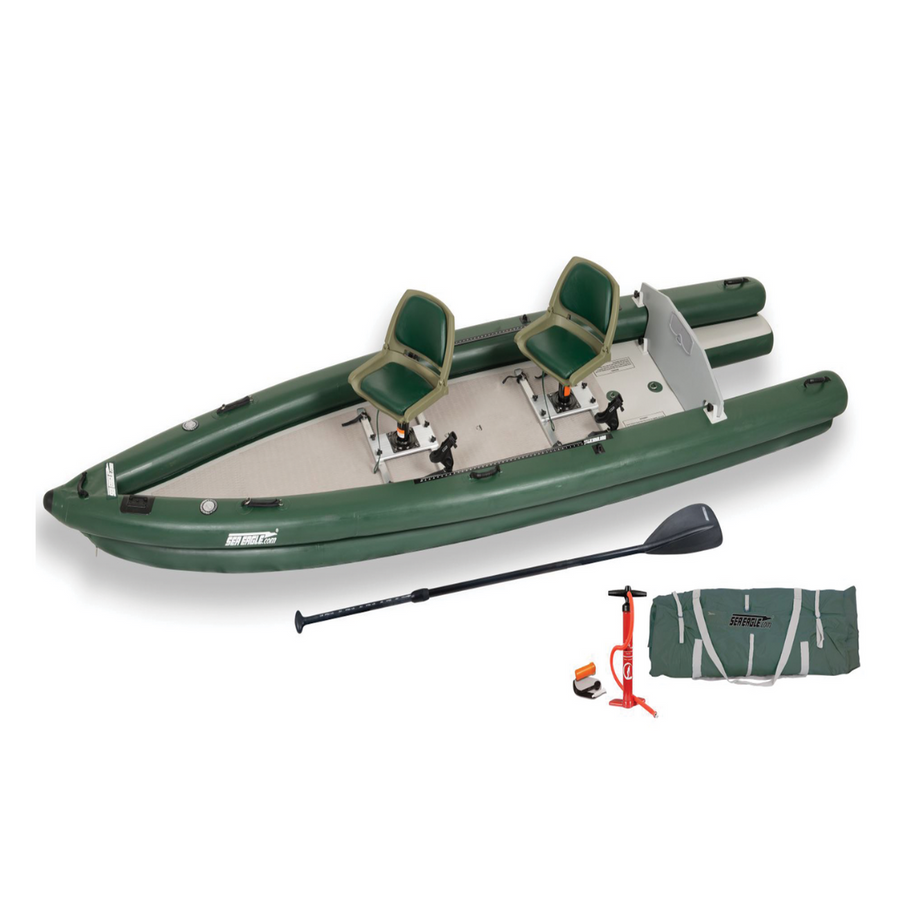
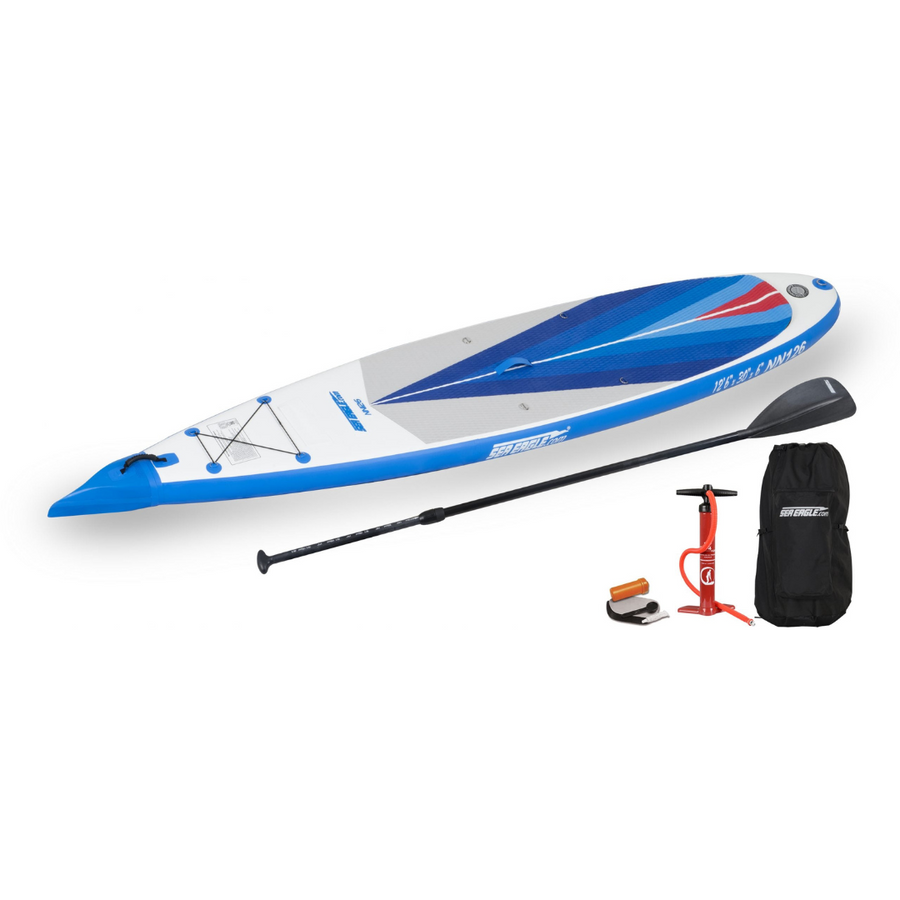
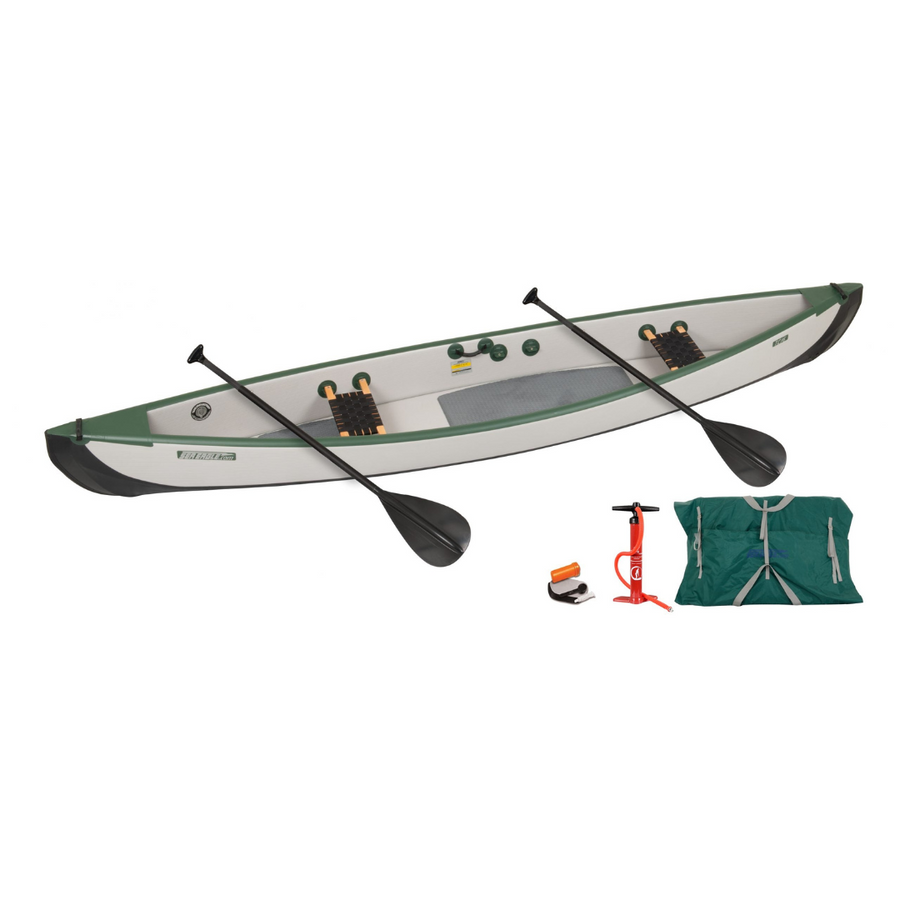
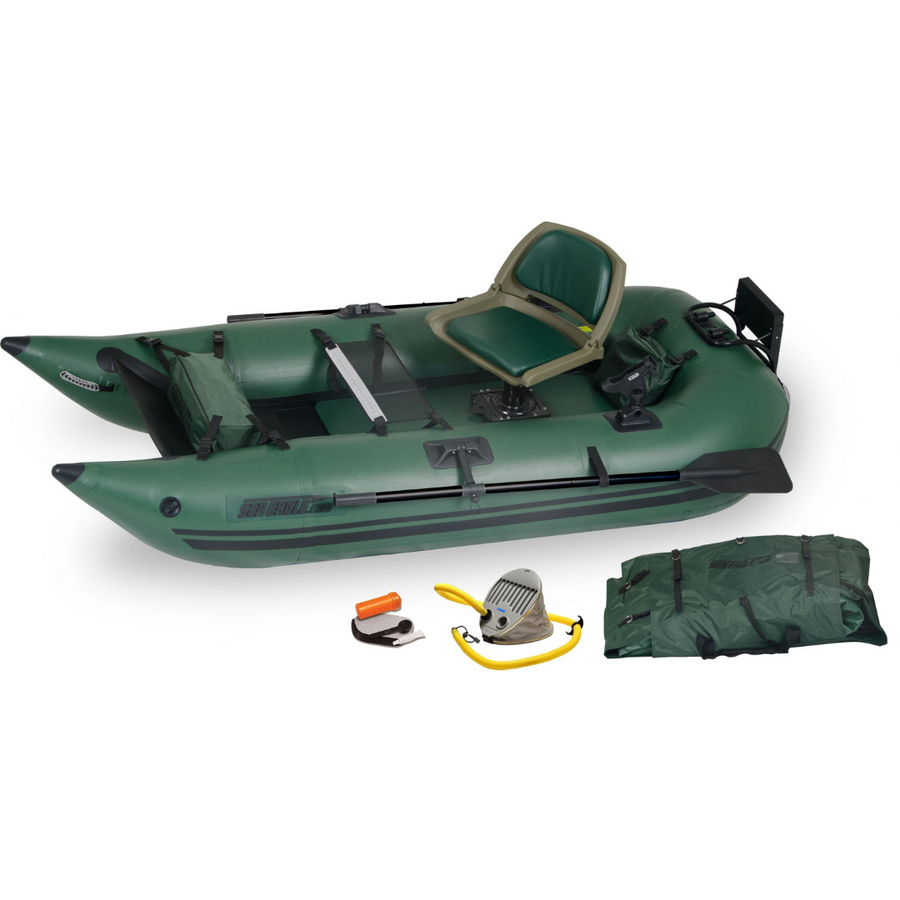
Whether you’re chasing professional-grade stability, portability, or creative mounting options, there’s a tripod here to match your kayaking needs. Pair one of these with Elemental Sports' reliable kayak models, and you’ll be ready to capture every moment of your adventure without worrying about your gear.
sbb-itb-2bb67b7
How to Set Up and Secure Tripods in a Kayak
Once you've chosen the right tripod, setting it up correctly and securing it in your kayak is essential for stable, reliable photography on the water. Proper placement and securing techniques can make all the difference when you're navigating unpredictable conditions.
Securing the Tripod
To keep your tripod steady, use cam lock tie-down straps in a two-point system. Look for a tripod with a sturdy metal hook at its base - this makes securing it much easier. Attach one strap from the tripod to the kayak's front and another from the base, running downward and backward. This creates balanced tension, keeping the tripod firmly in place.
When selecting a kayak for photography, prioritize models with secure tie-down points. These points are critical for anchoring your tripod effectively. Additionally, protect your camera and gear from water exposure by using dry bags. Even with a solid setup, splashes, rain, or unexpected waves can damage sensitive equipment.
Once your tripod is securely tied down, focus on finding the best spot in your kayak for easy access and stability.
Best Placement in a Kayak
For better balance and more space, position the tripod legs on the cockpit rim rather than inside the kayak. This setup not only enhances stability but also keeps the cockpit area free for your other gear and allows easier access to your camera.
Stability is key when choosing a kayak and deciding where to place your tripod. Fishing kayaks with wide hulls, like the Wilderness Systems Commander 120, offer a solid platform for standing and taking steady shots, even in rougher waters. Similarly, models with larger cockpits, such as the Boréal Design Compass 140 Ultralight, provide plenty of room for your tripod and additional equipment.
Some photographers go a step further by installing cockpit hooks to secure their tripod even more firmly - an excellent idea if you're working with expensive gear. Just ensure the tripod's placement doesn't interfere with paddling or make it difficult to safely enter or exit the kayak. Since every kayak design varies, take the time to adjust these techniques to fit your specific setup for the best results.
Maintenance and Care for Kayak-Used Tripods
Taking care of your tripod is especially important when it’s exposed to water environments, particularly saltwater. Saltwater can speed up corrosion on metal parts, which can quickly lead to damage if not addressed. To keep your tripod in good working condition and extend its lifespan, regular maintenance is a must. A consistent care routine helps tackle the unique challenges posed by marine environments. Below, we’ll cover the essential steps for cleaning, inspecting, and storing your tripod to protect it from the harsh elements.
Post-Trip Cleaning
After your tripod has been exposed to saltwater, mud, or debris, it’s crucial to clean it right away. Start by rinsing it thoroughly with fresh water to wash away any corrosive residues. If stubborn salt or organic material remains, use a mild soap to break it down.
Pay special attention to the tripod legs. Before folding them, remove any sand or grit to avoid damaging the threads. Fully extend the lowest section of the legs during cleaning to ensure you can access all the joints and hidden areas where debris might collect.
For heavy saltwater exposure, take the tripod apart completely. Clean both the inside and outside of the tubes and leg locks, making sure everything is free of buildup. Once cleaned, allow all components to dry thoroughly before reassembling. Trapped moisture, even from freshwater, can lead to corrosion if not properly dried.
Regular Inspections and Lubrication
Regularly inspecting your tripod can help you catch potential issues early. Check all moving parts, joints, and locking mechanisms for signs of wear, corrosion, or stiffness. Discoloration on metal parts may indicate the start of corrosion and should be addressed immediately.
To keep everything moving smoothly, apply a silicone-based lubricant to the joints and locks. Silicone lubricants are ideal because they repel water and provide lasting protection without attracting dirt. You can also add a thin layer of oil after the silicone for added moisture resistance. Avoid using petroleum-based lubricants, as they tend to attract debris.
For extra protection, consider using anti-corrosion sprays or rust inhibitors. These products work best when applied after cleaning and before storing your tripod, especially if it will be unused for an extended period.
Storage Best Practices
Proper storage is just as important as cleaning when it comes to protecting your tripod. After ensuring it’s completely dry, store it in a dry, well-ventilated area away from extreme temperatures. Avoid places with fluctuating humidity, like damp basements or garages, as these conditions can encourage rust.
To further protect your tripod, place silica gel packets or other desiccants in your storage case or bag to absorb any leftover moisture. Replace these packets regularly, especially if you notice they’ve become saturated.
For advanced protection, consider using Vapor Corrosion Inhibitors (VCIs). These products release vapors that create a rust-resistant barrier on metal surfaces, making them a great option for humid climates or less-than-ideal storage conditions.
If you want to go the extra mile, wrap the tripod legs in plastic sleeves to shield them from salt spray. And if you’re storing the tripod with the legs closed, double-check that it’s completely dry and periodically inspect it for any signs of moisture buildup.
Conclusion and Key Takeaways
When it comes to kayaking, picking the right tripod is all about finding the right balance between portability, stability, and durability. A good tripod should be lightweight enough to carry with ease, sturdy enough to handle wind and water conditions, and built with materials that can stand up to saltwater exposure.
Carbon fiber tripods are a great choice for kayaking. They’re not only lightweight but also better at reducing vibrations compared to aluminum options. Make sure the tripod you choose has a load capacity that comfortably supports your camera gear to avoid any wobbling or instability.
Stability and safety should always come first. Secure your tripod to your kayak to avoid losing it overboard, especially in rough conditions.
Paying attention to the weather is equally important. Always check forecasts before heading out, and keep your tripod protected by storing it in a long, narrow dry bag. This helps shield it from water and grit, ensuring it stays in top shape for your adventures.
Don’t overlook maintenance. Clean your tripod regularly, dry it thoroughly, and apply proper lubrication to keep it working smoothly. For long-term care, store it in a dry, ventilated space and inspect it periodically to catch any wear and tear before it leads to bigger issues. A little care goes a long way in keeping your tripod reliable on the water.
FAQs
What should I look for in a tripod for kayaking photography?
When picking a tripod for kayaking photography, keep an eye on stability, weight, and durability. Stability is key - opt for a tripod without a center column to avoid obstructing your paddling and to ensure your shots stay steady, even on choppy water.
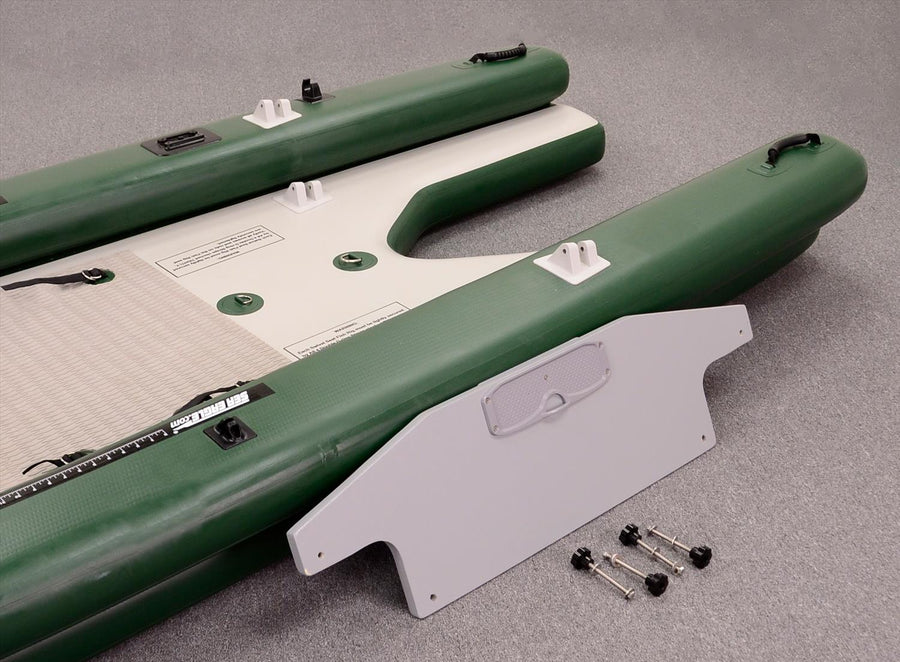
Go for something lightweight, so it’s easy to carry, but sturdy enough to handle outdoor conditions and resist water exposure. Tripods made from materials like aluminum or carbon fiber strike a good balance between portability and strength. If you need extra stability, you can use a hard-bottom inflatable platform. Choose equipment built to handle the unique challenges of kayaking, so you can focus on capturing amazing shots effortlessly.
How do I properly care for my tripod after using it in saltwater to keep it in good condition?
To keep your tripod in good working condition after it’s been exposed to saltwater, start by rinsing it thoroughly with fresh water. This step helps wash away any salt that could lead to corrosion. Once rinsed, make sure to dry it completely using a soft cloth to prevent any moisture from lingering. Focus on the joints, locks, and threads, as these spots are especially vulnerable to damage from salt and sand.
For extra care, use a soft brush to clear away any remaining sand or debris. You might also want to apply a light lubricant like WD-40 to the metal parts. This helps ward off rust and keeps everything moving smoothly. If you’re planning to use your tripod in salty conditions for an extended time, wrapping the legs in plastic or waterproof covers can provide an extra layer of protection. With regular cleaning and maintenance, your tripod will stay in great shape and ready for all your kayaking adventures.
How can I safely secure a tripod in my kayak for stability while on the water?
To keep your tripod secure while kayaking, you can use bungee cords or cam lock tie-downs to fasten it to stable points like built-in hooks or straps inside the kayak. This setup helps prevent the tripod from moving around or tipping over due to water movement or waves.
If you want extra stability, think about adding custom mounts or additional hooks to your kayak. Properly securing your tripod not only protects your equipment but also ensures steady shots, making it easier to capture great photos or videos while out on the water.



Leave a comment